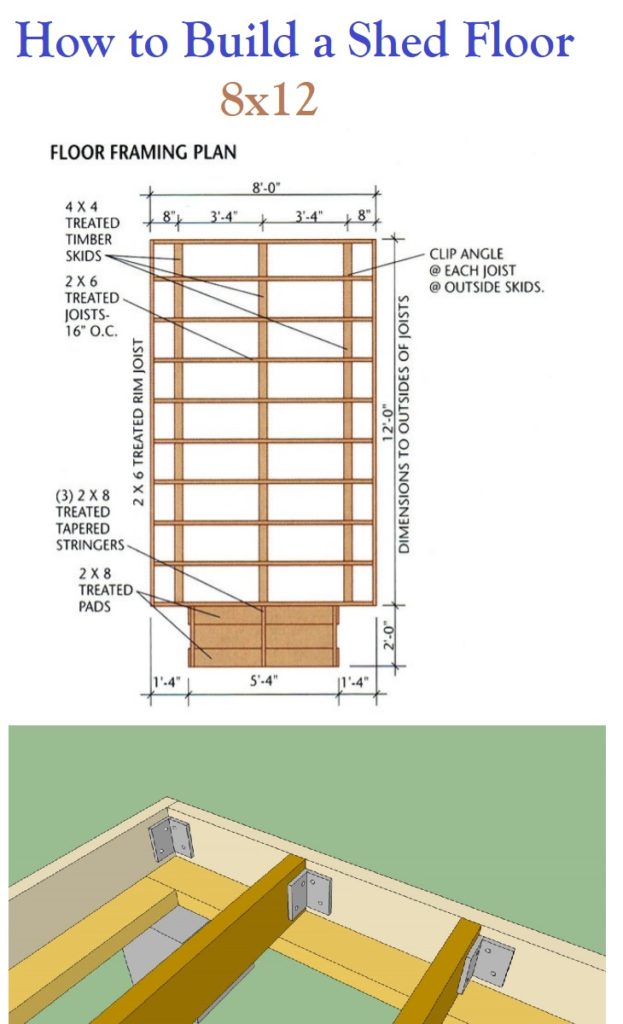
Building a Shed Floor can be easy
1. Excavate the building site and add a 4″ layer of compactible gravel. If desired, add an extension to the base for the optional wood ramp. Tamp the gravel thoroughly, making sure it is flat and level. This is the start of how to build a shed floor.
2. Cut three 4 × 4 treated timber skids at 144″. Arrange and level the skids on the gravel bed, following the FLOOR FRAMING PLAN.
3. Cut two 2 × 6 rim joists at 144″ and ten joists at 93″. Mark the joist layout onto the rim joists, following the plan. Assemble frame with 16d galv. common nails; be sure to check each joist for crowning and install it with the crowned edge up.
4. Set the floor frame on top of the skids and measure the diagonals to make sure it’s square. Install metal clip angles, attach joist along the two outer skids, using 1 1/2″ joist hanger nails and 16d galv. common nails, and toenail each joist to the center skid with 16d galv. nails.
5. Install the tongue-and-groove floor sheathing, starting with a full sheet at one corner of the frame. Use 8d
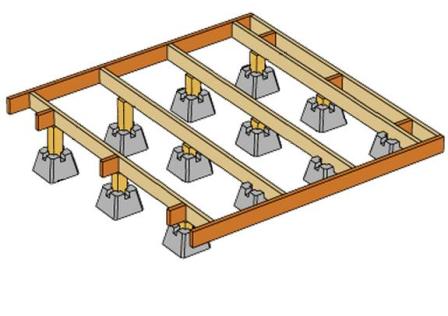
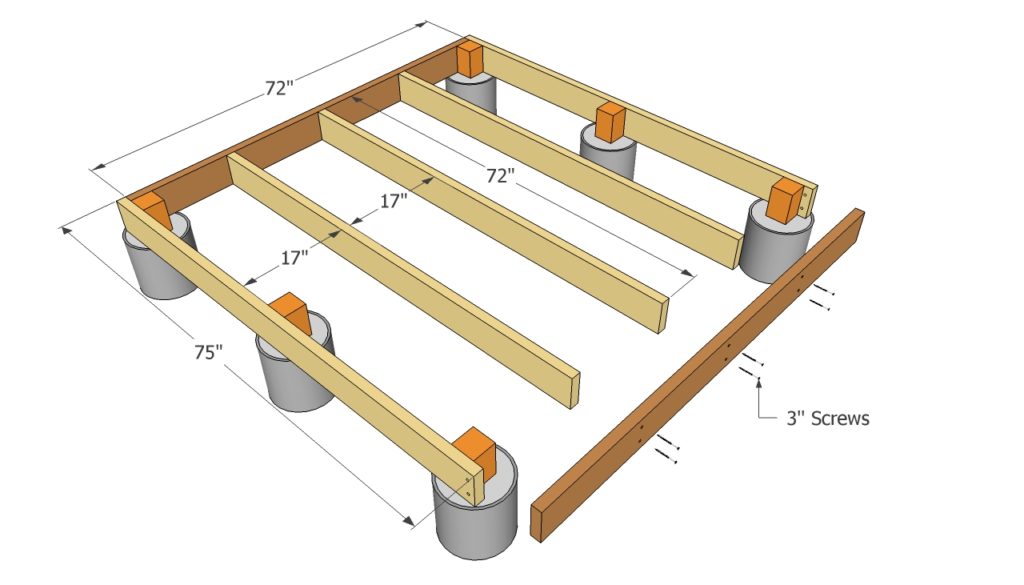
It’s up to you to decide what to support your shed floor with. The floating blocks that you can purchase at your local home store